Create a simple NPX business card
Updated
•5 min readStarting from node -v to git push to writing an entire app using vim, we, developers, spend a significant amount of time in the terminal. Love it or hate it, you have to mess around with the terminal at some point in your dev career. So why not present yourself in a unique way via the terminal itself just by hitting your name in it?
Behold, THE NPX BUSINESS CARD!
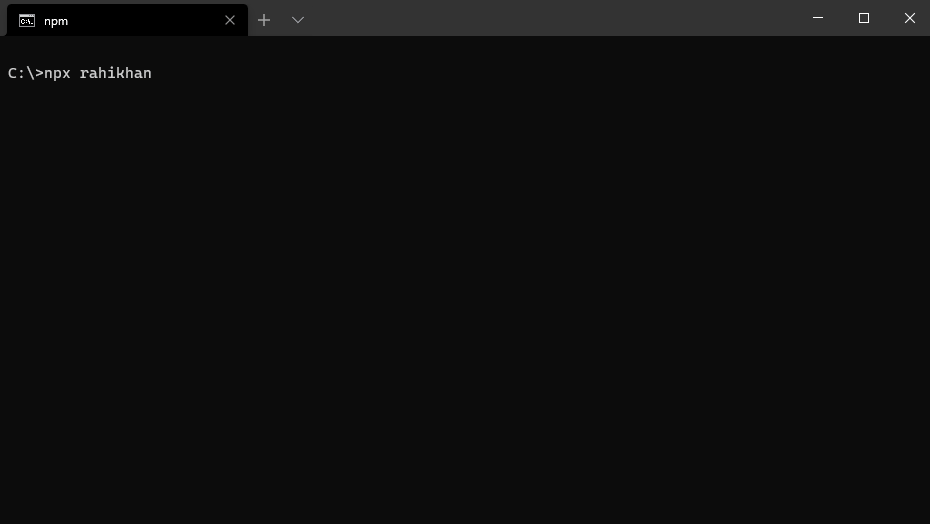
👇 hit this in your terminal and you'll get to see a simple yet dashing card with my info
npx rahikhan
Now let's see how I did it and how you can make your own npx business card too! It's pretty simple trust me 😉
- Create an account on npm if you don't have it already.
- Log in to your npm account through the terminal 👇
npm login - Hit the Use this template button in my repo.
- Clone your newly made repo and open it with your favorite code editor (I guess it's VS Code? 😜) and hit
npm ito install dependencies. - Input your own info in the data.json file.
 {
     "user_name": "Jon Snow",
     "user_email": "jon@winterfell.com",
     "job_title": "Lord Commander of the Night's Watch",
     "npx_card_handle": "jonsnow",
     "twitter_username": "jonsnow",
     "linkedin_username": "jonsnow",
     "github_username": "jonsnow",
     "personal_site": "https://jonsnow.io",
     "resume_url": "https://jonsnow.io/resume"
 }
In the package.json file change the following:
nametoyour name. (It's the "your_name" innpx your_name)versionto1.0.0authortoyour namedescriptiontowhatever you likeand
repository urltoyour GitHub repo{ "name": "Jon Snow", "version": "2.0.1", "author": "Jon Snow <jon@winterfell.com> (https://winterIsComing.io)", "description": "A personal card for Jon Snow", "repository": { "type": "git", "url": "https://github.com/jonsnow/npx_card.git" } }
- Hit
git add . && git commit -m "cool npx card" && git pushin your terminal when you're done. - Publish your package 👇
npm publish
But hold on, what if your package has the same name as another package on npm? You won’t be able to publish it. You’ll get an error. ☠️🚫
For that you can follow either of the two steps:
First one's simple, you can check for naming collisions by doing a search on npm's official site, or through the
npm searchcommand, then set the package name with something unique in thenamefield in thepackage.jsonfile. Like a very loooong name maybe?{ "name": "lord-commander-of-the-nights-watch" }Or you can publish the package under your own username (or npm organization) aka publishing to a scope. For this:
In the
package.jsonfile change thenamefield to@user-name/package-namemanually where "user-name" is your npm username and "package-name" is the name of the package 👇{ "name": "@jonsnow/winterIsComing" }The publish command for this method is
npm publish --access public